Make Your Own Terrarium

As summer is dwindling, I am holding on to the simple pleasures of watering what is left of my garden and enjoying the last of the tomatoes. I know there are probably many reasons that contributed to my diagnosis — and I will never know for sure — but I do think that in recent years my disease may have been accelerated because I became more and more of an indoor creature.
I know there are great benefits to being outside and playing in the dirt, and I am trying to be more intentional about carving out time to be in nature each day. I do not know why it has felt harder for me than it should be. About halfway through my chemotherapy treatments — a friend stopped by with some plants, glassware, rocks, and guided me outside to play. Now, I would like to invite you to carve out some time of your own, play in the dirt, and make your own terrarium in six simple steps.

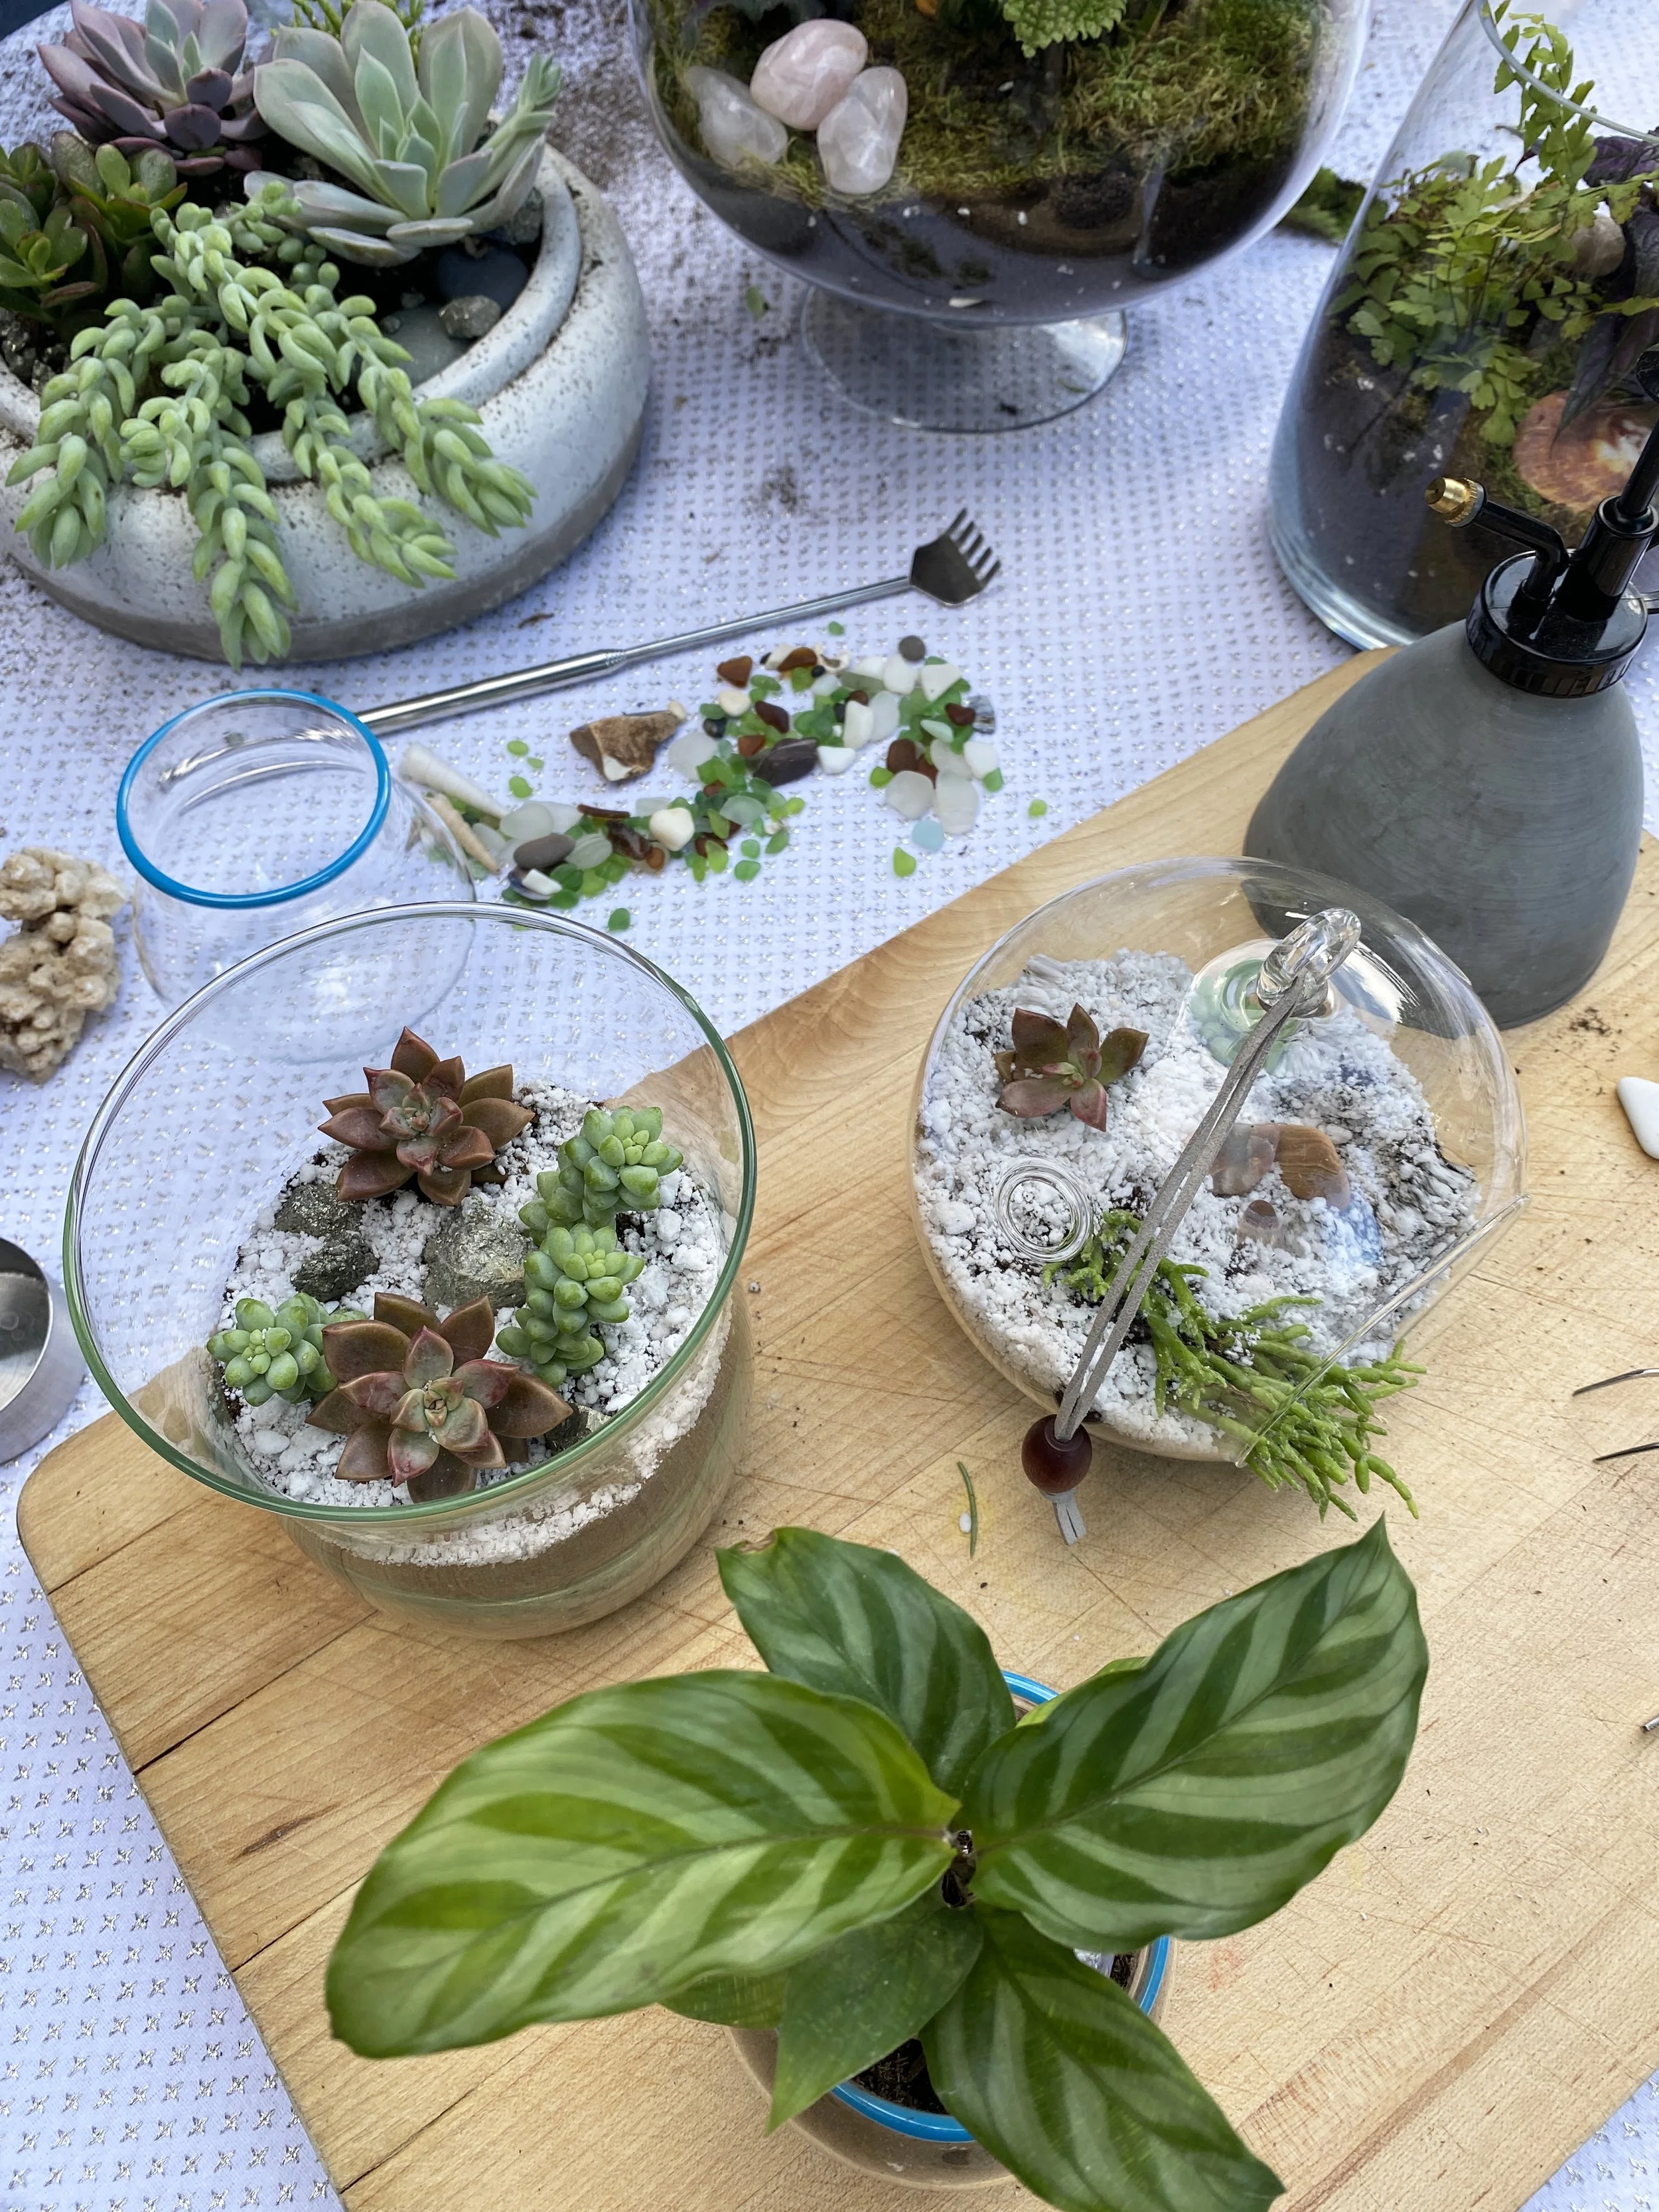
Step 1 — Pick Your Glassware
Choose a glass vessel that has an open top. Have you received a bouquet of flowers in a glass vase or a lovely homemade soup in a Ball jar during your journey? I would recommend using this as an opportunity to reuse any unused vases and jars in your house and give them a new life.
Step 2 — Selection of Plants
Head to your local nursery and pick out a few plants to fit within your vessel. Look for a variety of textures and colors! While you are there, be sure to pick up a bag of small rocks and potting soil. A couple tips: make sure the size of your plants will fit comfortably within the glassware you selected with room to grow and that the plants you select will thrive in similar environments.
Step 3 — Fill the Base
Start with your small rocks and add a layer to the bottom of the vessel. Depending on the vessel you choose this should be anywhere from an 1” to 2” deep. Then, add a layer of potting soil on top. Again, depending on the size of your vessel this should be deeper than the rock layer and give room for your plants’ roots to grow.
Step 4 — Plant
Plant your plants in the soil and make sure you give them enough space to grow.
Step 5 — Decorate
Another great way to add interest to your terrarium is to decorate it with rocks, shells, crystals, moss, or any other found objects. Use your imagination and find things in your house that might spark new joy in this little world you are creating. I added shells from a trip to Panama in one terrarium and then rocks from my sister’s childhood rock tumbler in another.
Step 6 — Water
Once you’re done decorating your terrarium, be sure to water it… carefully. You can do this with an indoor plant mister or ice cubes.
Now, do a little happy dance and find a good spot for your new friend!
If you make your own terrarium, please send along a photo or tag @craftingthroughcancer, I’d love to see what you create. And, if you are interested in learning more about the benefits of getting dirty, check out this NYT article.